I Heart Daisies

Hello again!! It’s time for a brand new challenge at the Simon Says Stamp Wednesday Challenge. This week the challenge is
Anything Goes
We are showcasing Memory Box Products this week. If you have any of these products, we’d love to see them used, but it’s certainly not a requirement to join the challenge.
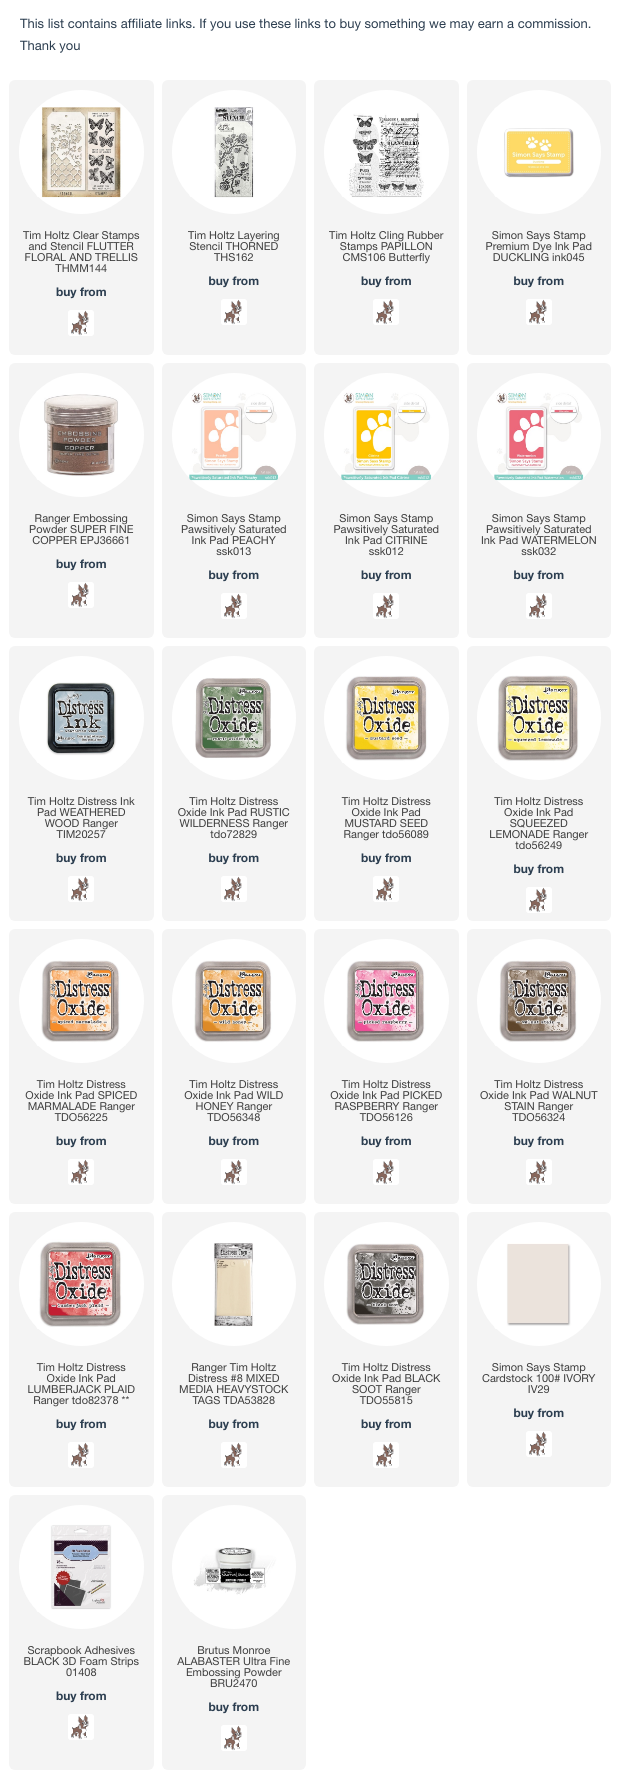
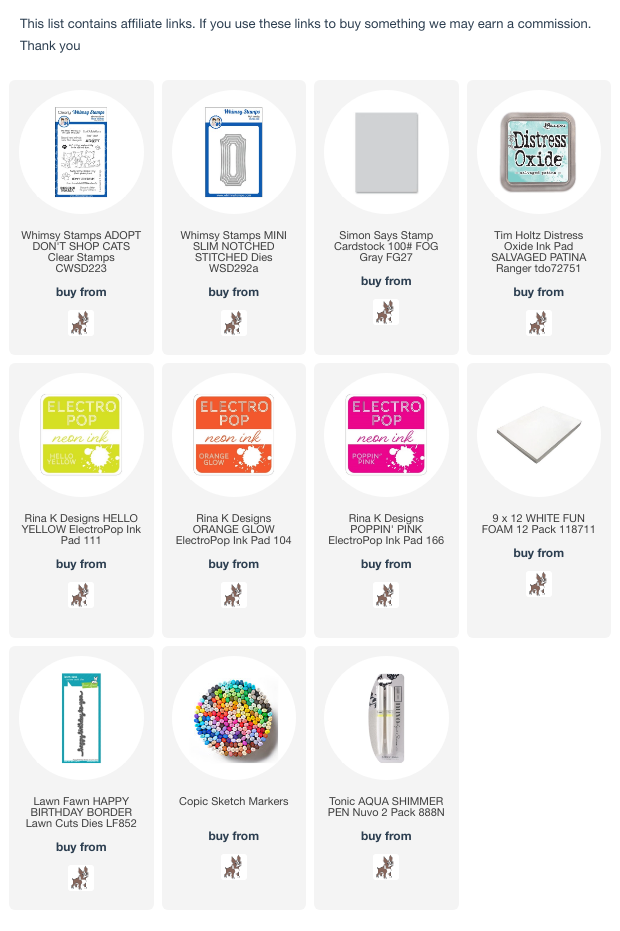
As always, the generous folks at Simon Says Stamp will be giving away a $25 voucher to one randomly selected winner to shop at the fabulous Simon Says Stamp Store. You can enter 5 times which means you can make 5 different projects following this week’s prompt and have 5 chances to win a shopping spree!! Sounds like a win/win to me!! I’ve linked all of the supplies that I used at the end of this post. Compensated affiliate links used where possible at no cost to you.


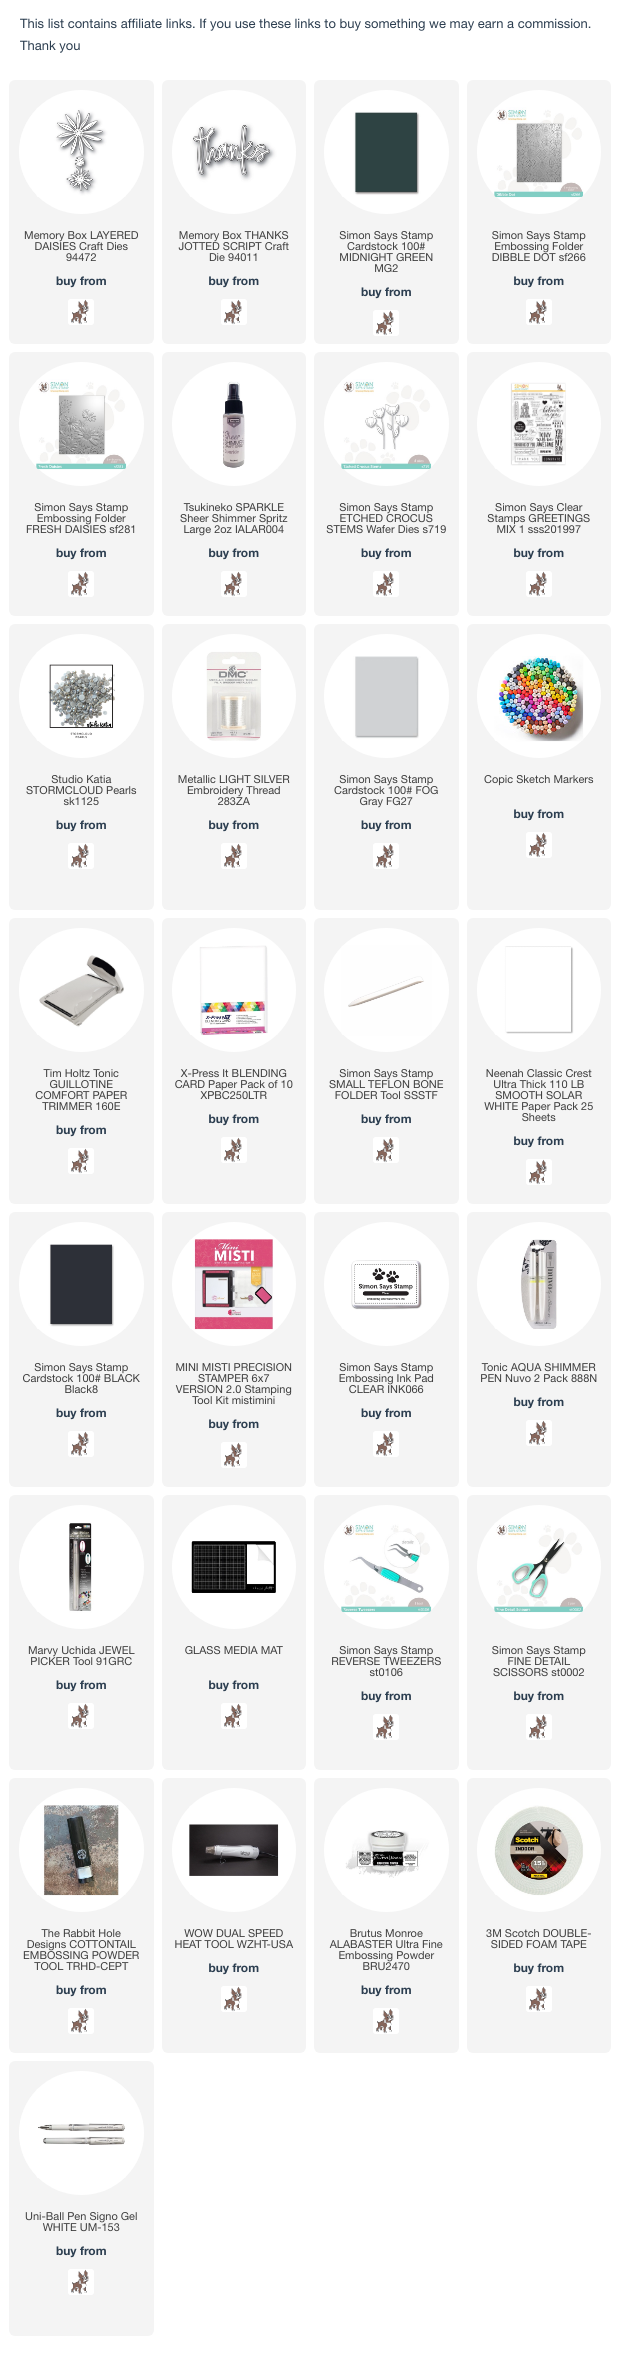
I used the Layered Daisies die and the Thanks Jotted Script die both by Memory Box to make my card this week. I cut the daisies out two times for each flower and added a bit of color with my Copic Markers. This die doesn’t come with stems or leaves so I just used the stems from the Etched Crocus Stems die.

For my background, I used the Dibble Dot Embossing Folder with Midnight Green Cardstock and it turned out beautifully! I glued my flowers in place and then I cut the “Thanks” sentiment out three times with Neenah Solar White 110 lb. cardstock and the shadow die I cut just once with Black Cardstock and I glued them together.

I trimmed my embossed background down to 4″x5.25″ and I attached it to a side folding card base. To finish it off, I sprayed the entire surface generously with Tsukineko Sparkle Sheer Shimmer Spritz. Just to make sure we were sparkly enough, I went over the sentiment with my Aqua Shimmer Pen.

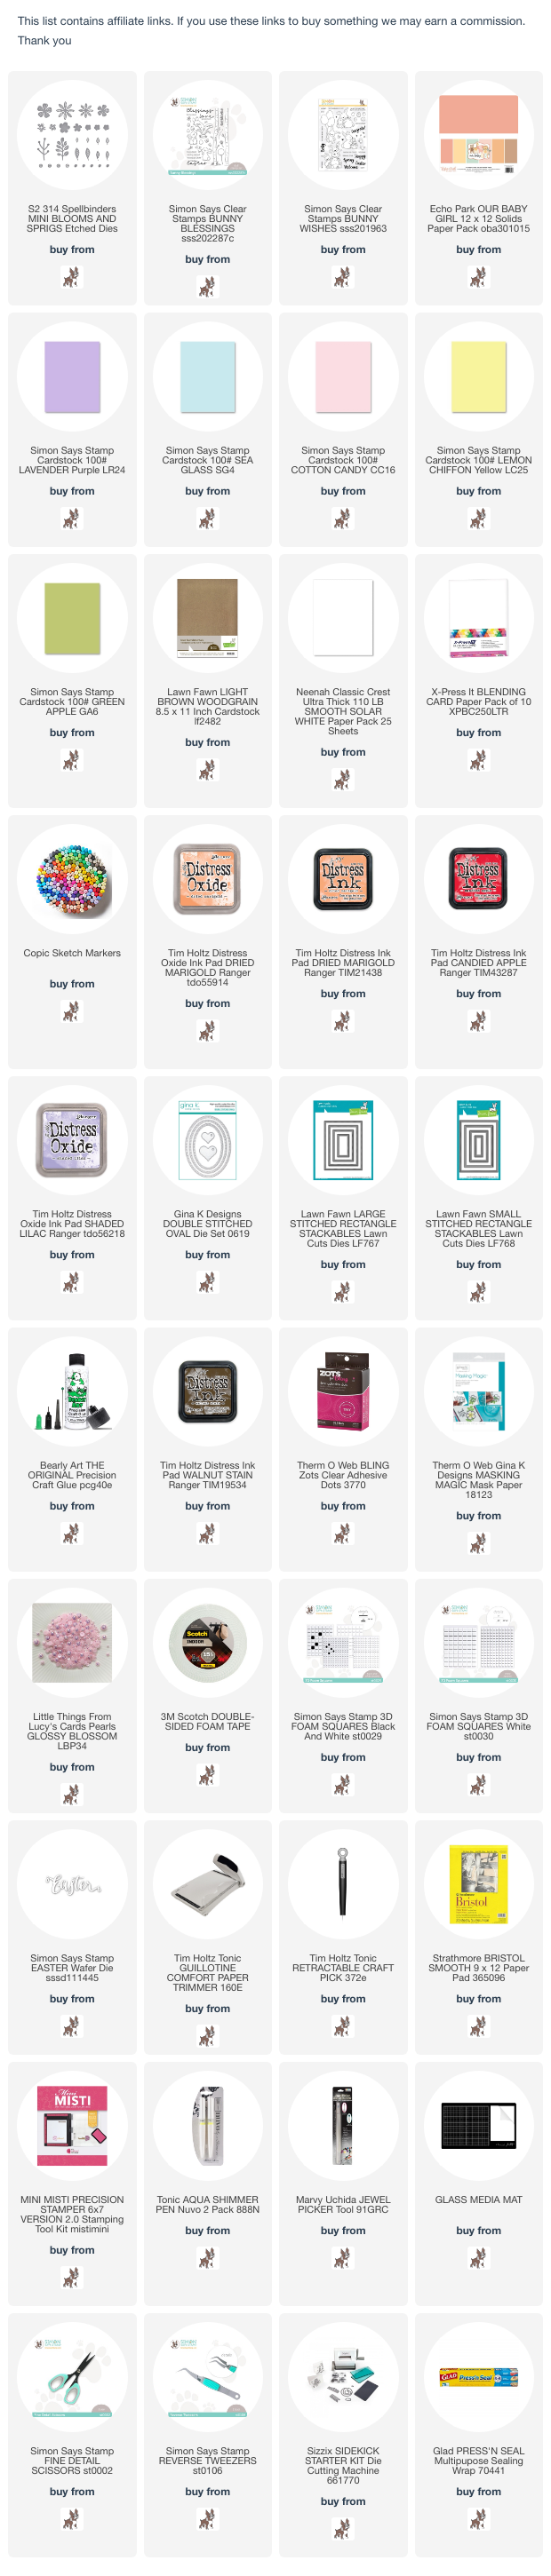
I loved these daisies so much that I decided to make a second card with a little more color. I used some cardstock that I had in my stash and I repeated the same process. I cut the daisy out twice for each flower, added a little dimension with my copic markers and used the Etched Crocus Stems.

I used the Fresh Daisies Embossing Folder with Fog Cardstock. My sentiment if from the Greetings Mix 1 stamp set and I heat embossed it with Alabaster White Embossing Powder. I added a faux white stitch around the sentiment using my White Gel Pen. I used some Silver Thread to go around the bottom of my card for a little added interest and then I popped the sentiment up with some Foam Tape. I have soooo much of this foam tape because it used to be “THE” tape to have and use for dimension before all of the 3D foam squares came out which I also had to have so now I have TWO ROLLS of this foam tape that I’ve decided I need to start using it up. I just HAD to have it and it wasn’t cheap so I’m not letting it go to waste. I still use the foam squares when it’s the perfect size but for sentiment strips like this, you best believe there’ll be some foam tape behind it!

Once again I trimmed my background down to 4″x5.25″ and I attached it to a top folding card base. I also sprayed the entire background (minus the sentiment strip) with Tsukineko Sparkle Sheer Shimmer Spritz. To finish off my second card, I attached a few Storm Cloud Pearls.
So now it’s YOUR turn. Happy Crafting!!
Follow Simon Says Stamp on Instagram

Do you use Instagram ? If so please add #ssswchallenge to your challenge entry uploads so we can see them on there too.