Skulls and Lace

Hello crafty friends!! It’s time for a brand new challenge at the Simon Says Stamp Wednesday Challenge. This week the challenge is
Stencil It
We are showcasing Tim Holtz Products this week. If you have any of these products, we’d love to see them used, but it’s certainly not a requirement to join the challenge.
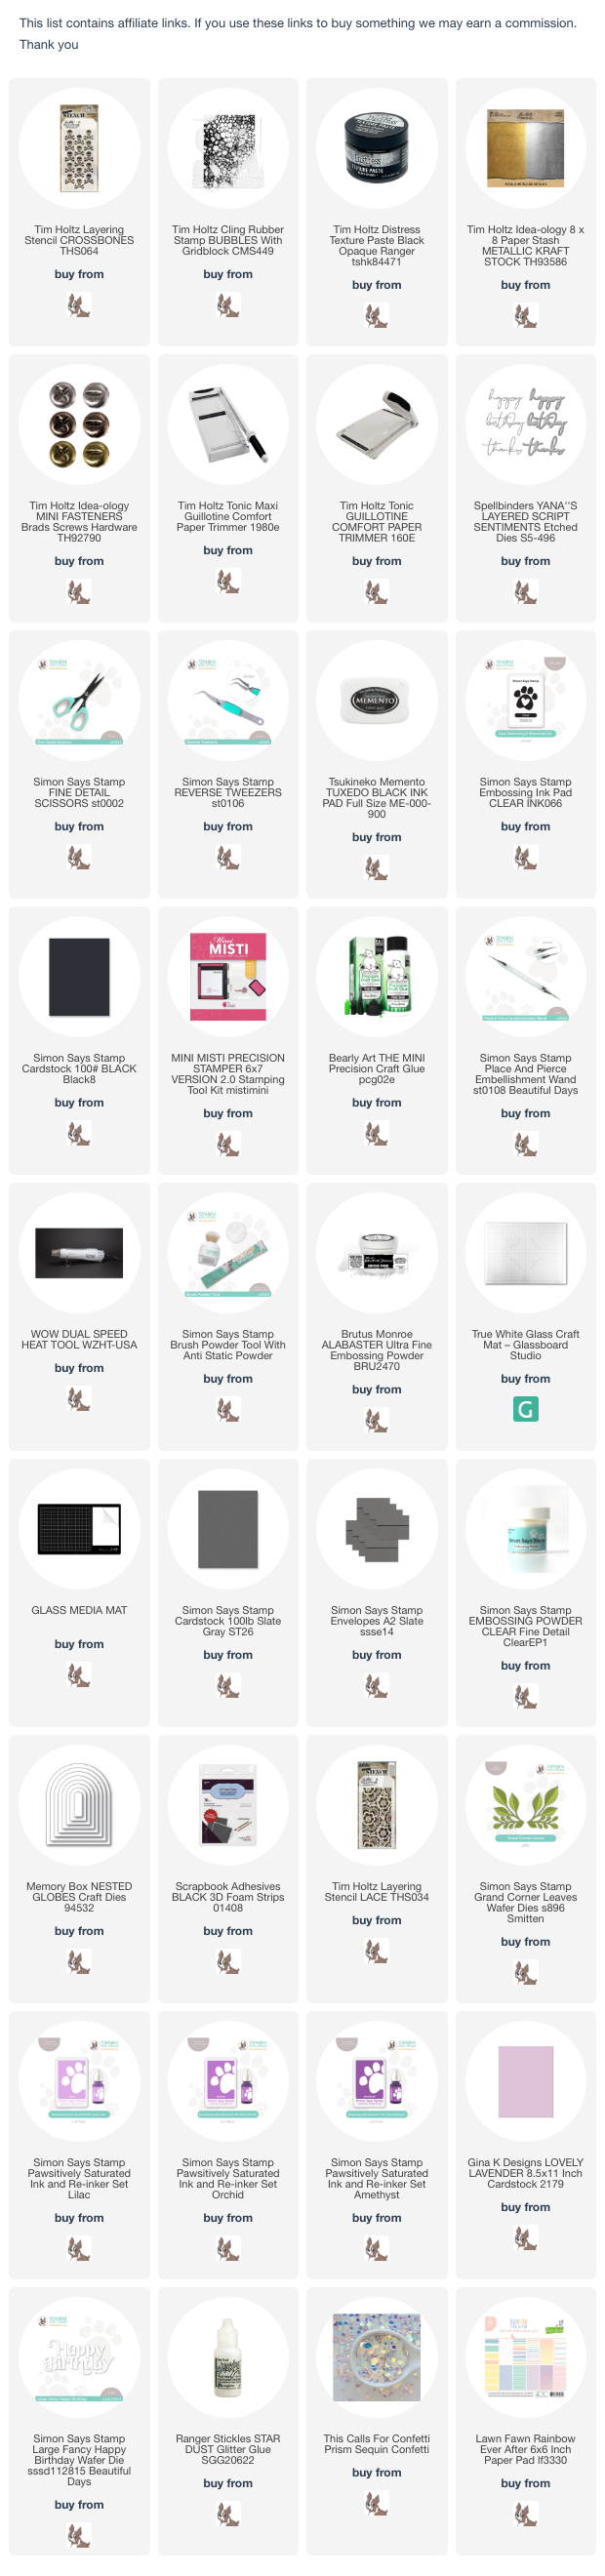
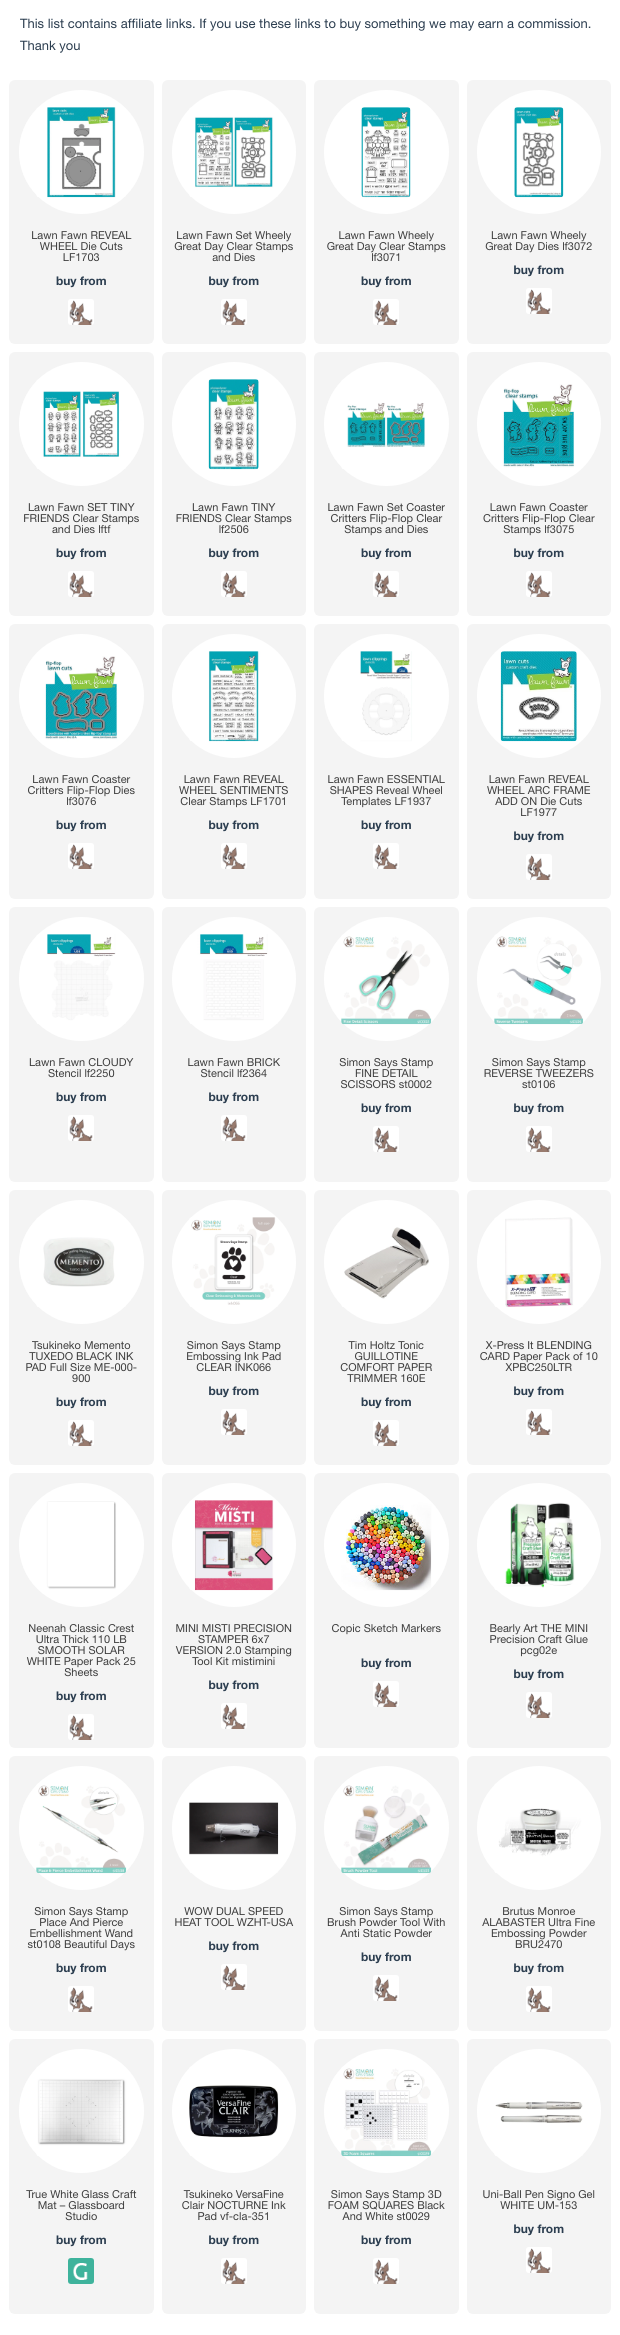
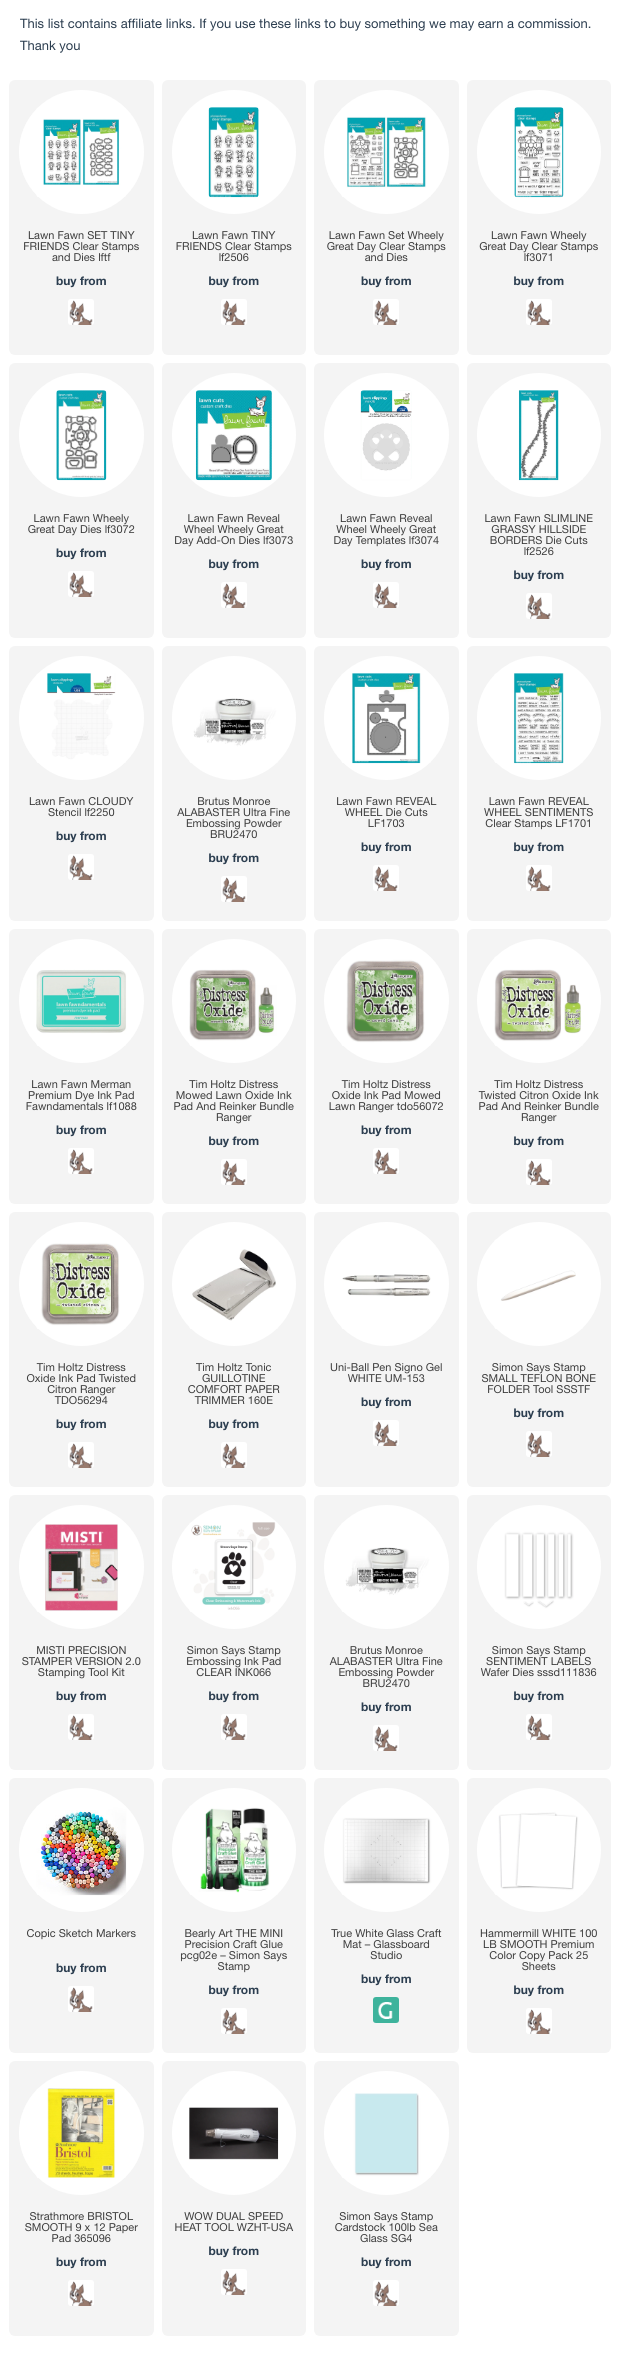
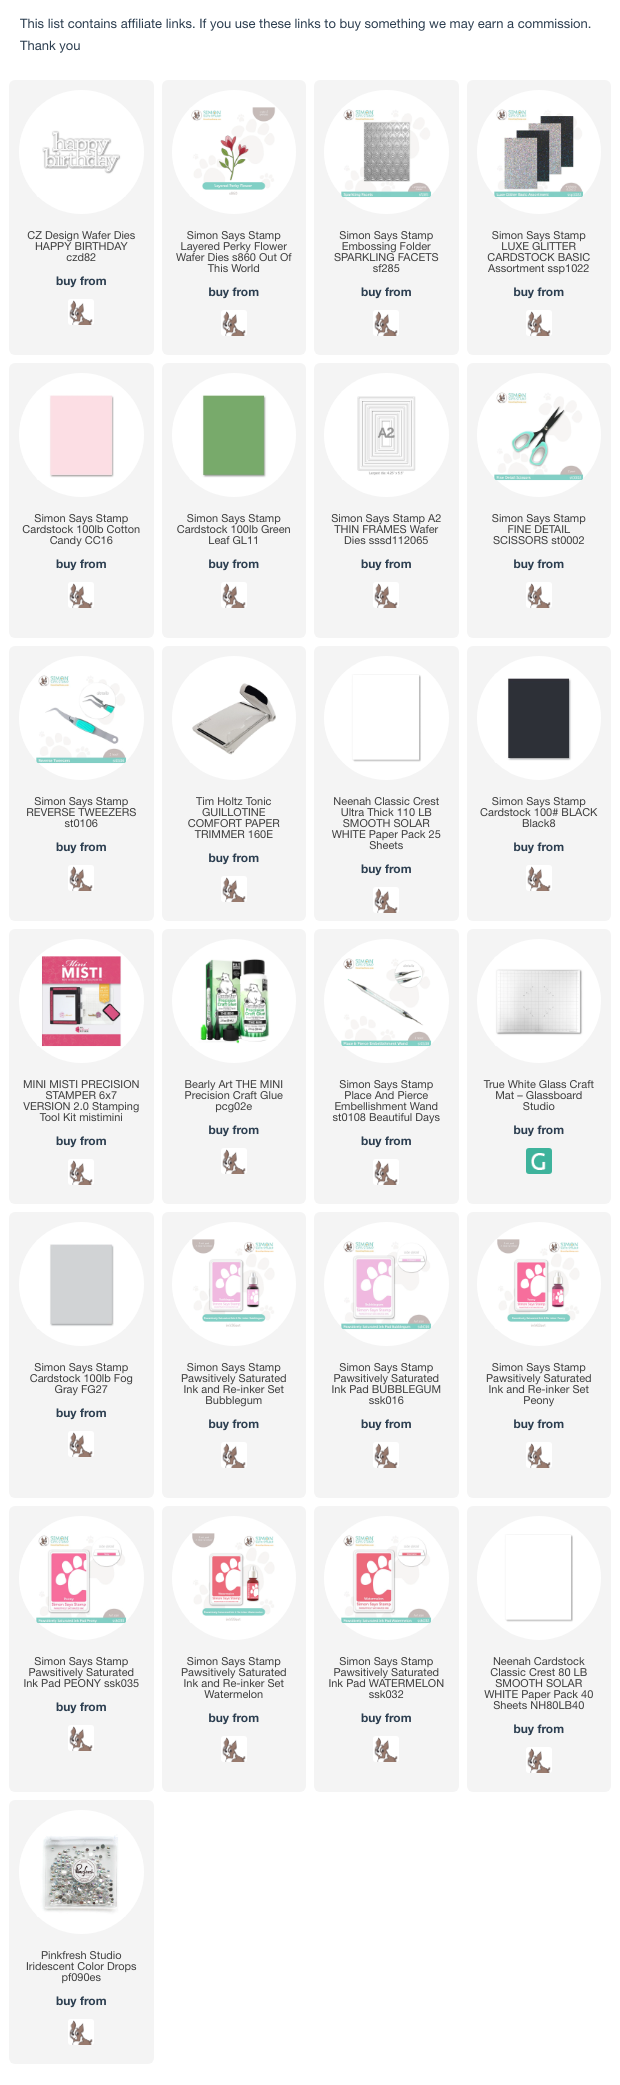
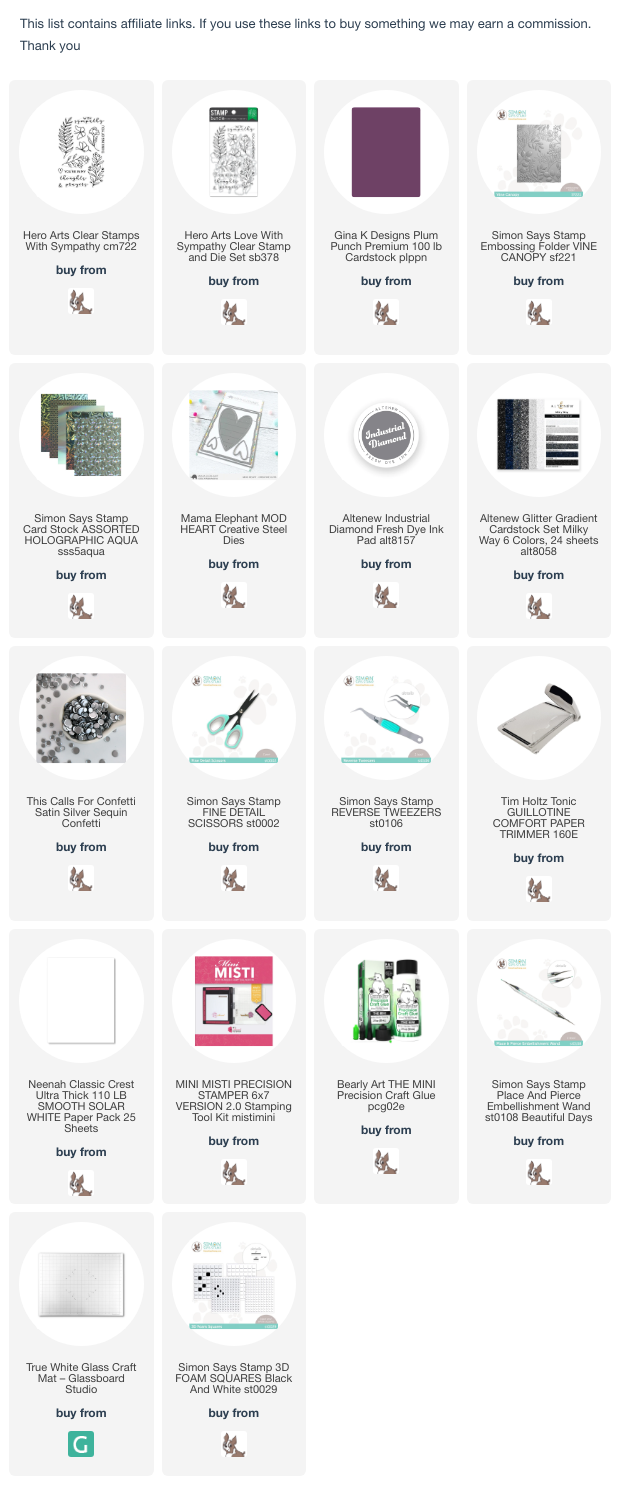
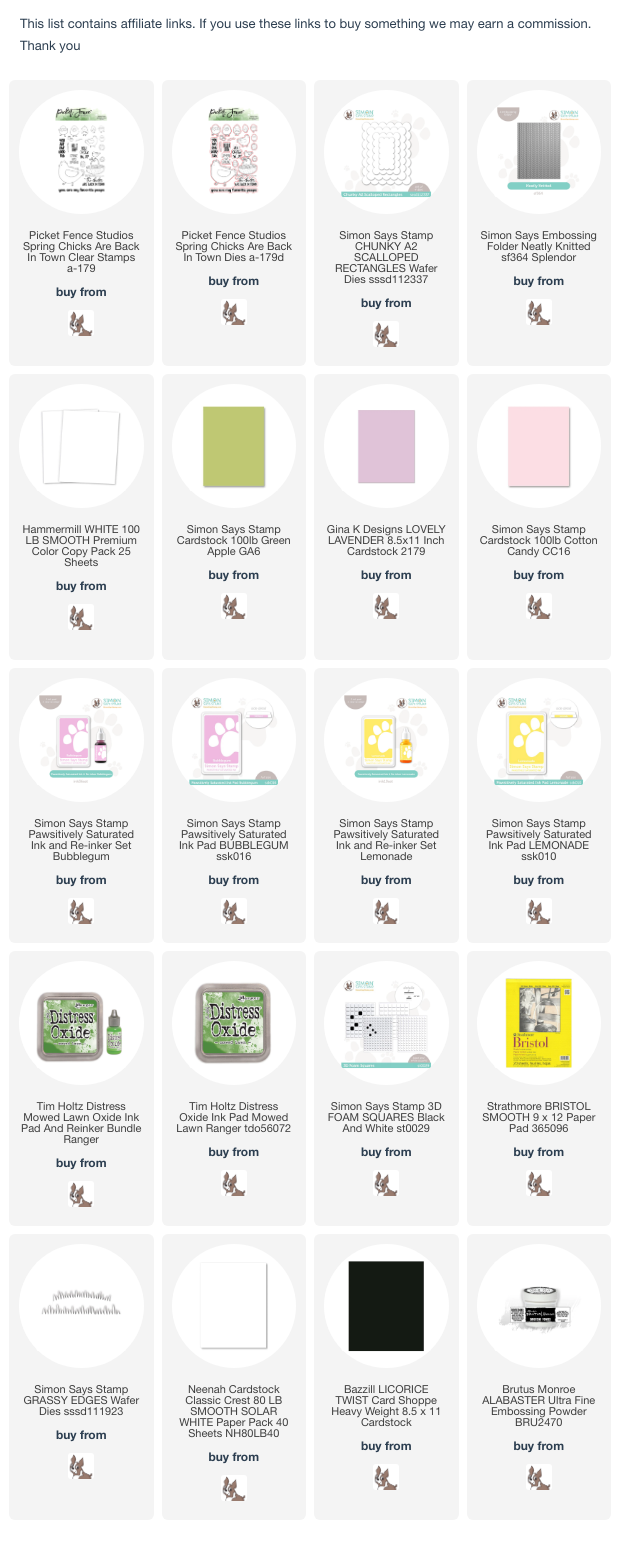
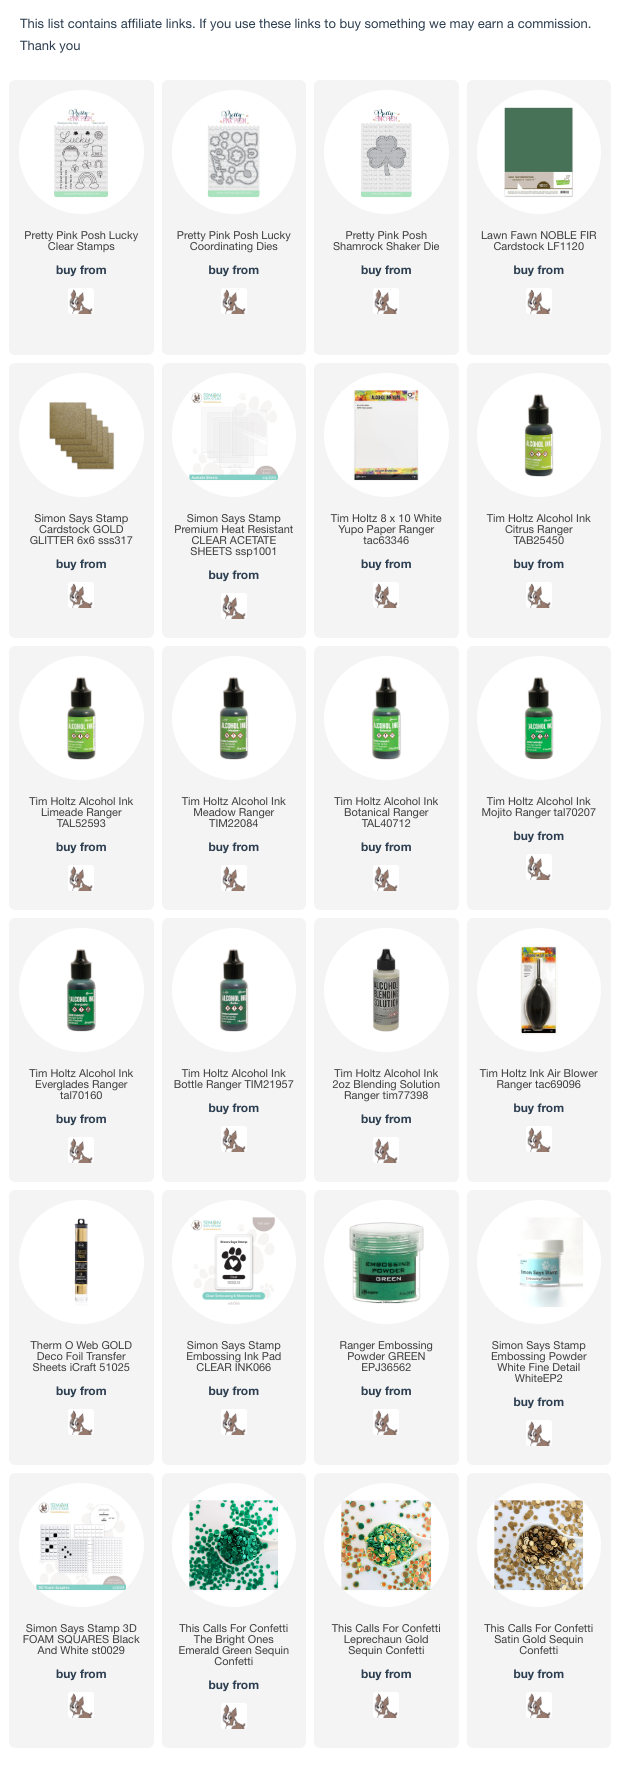
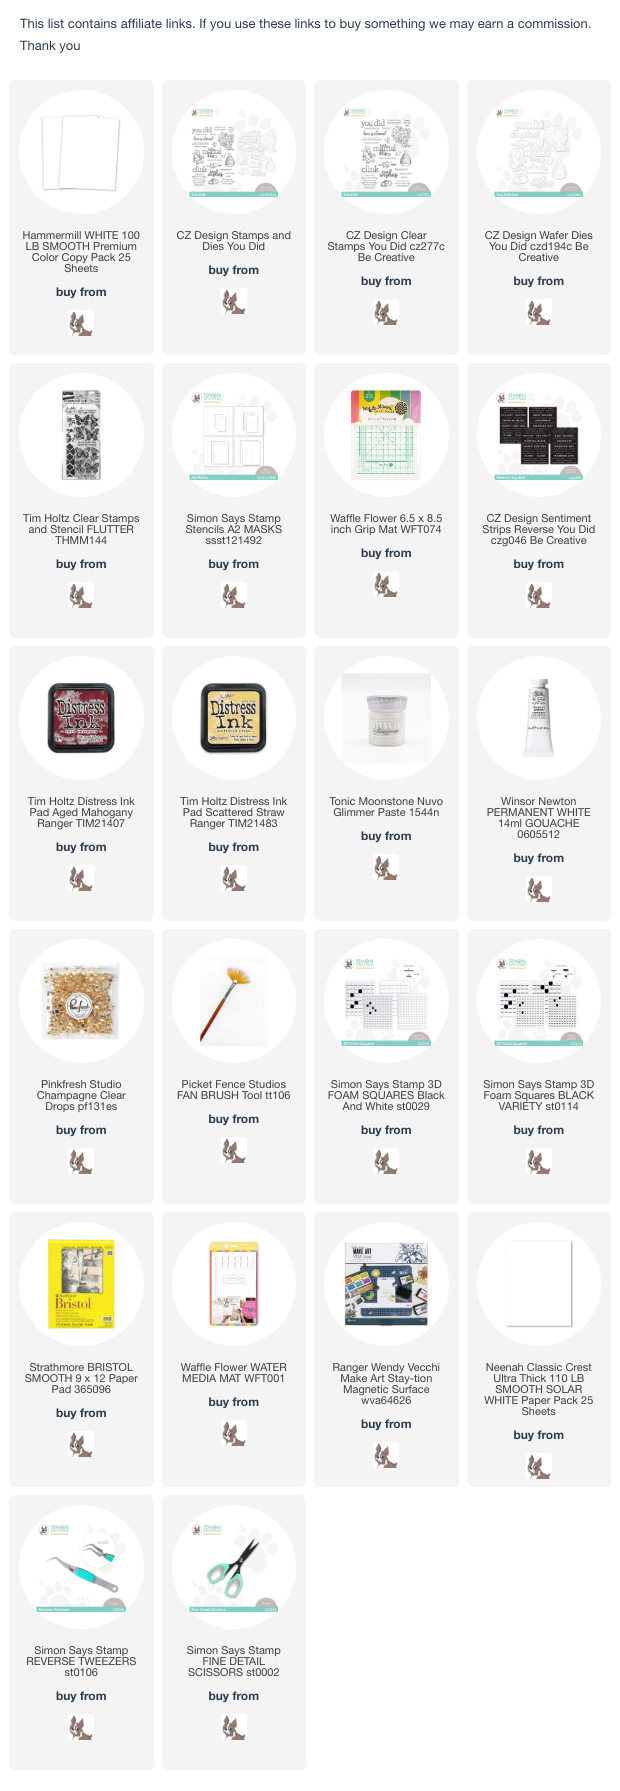
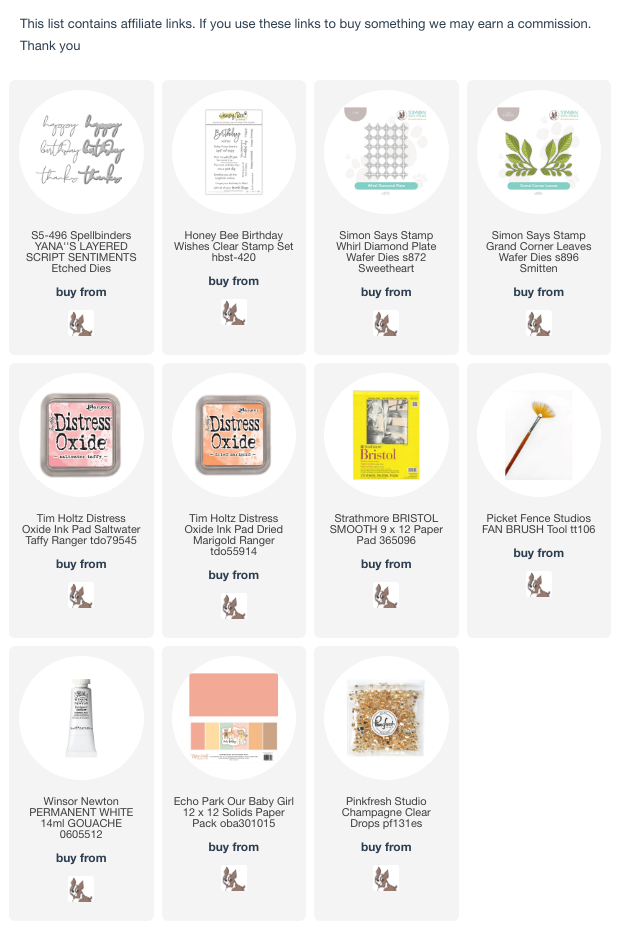
As always, the generous folks at Simon Says Stamp will be giving away a $25 voucher to one randomly selected winner to shop at the fabulous Simon Says Stamp Store. You can enter 5 times which means you can make 5 different projects following this week’s prompt and have 5 chances to win a shopping spree!! Sounds like a win/win to me!! I’ve linked all of the supplies that I used at the end of this post. Compensated affiliate links used where possible at no cost to you.


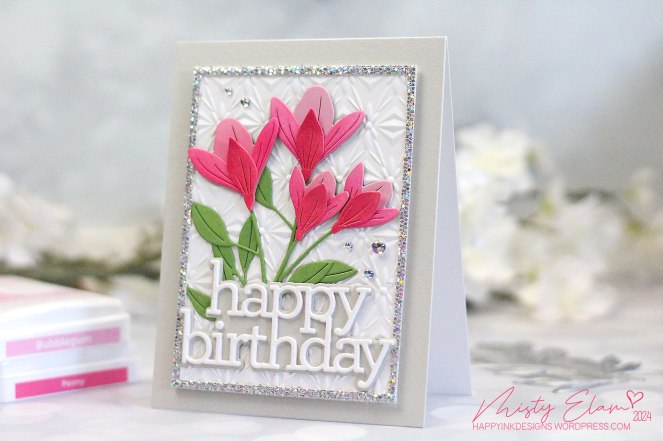
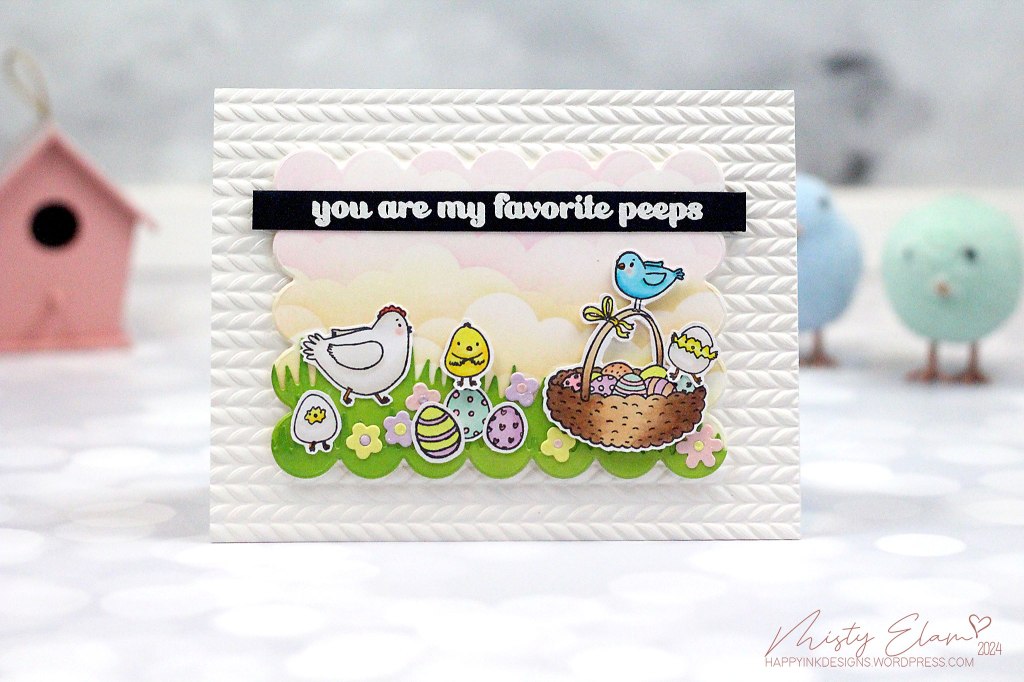
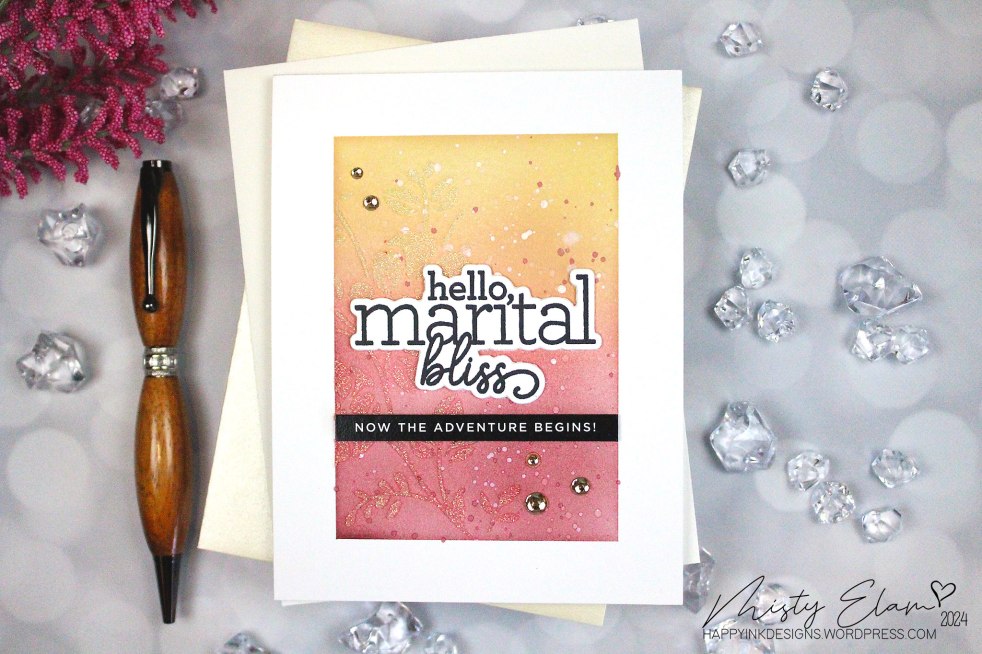
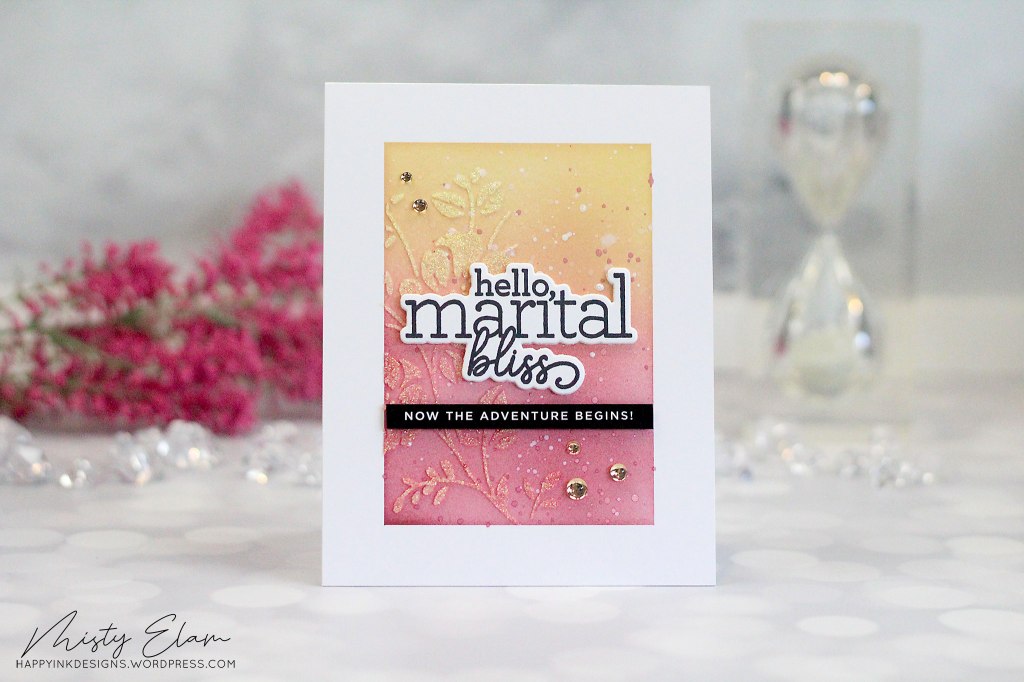
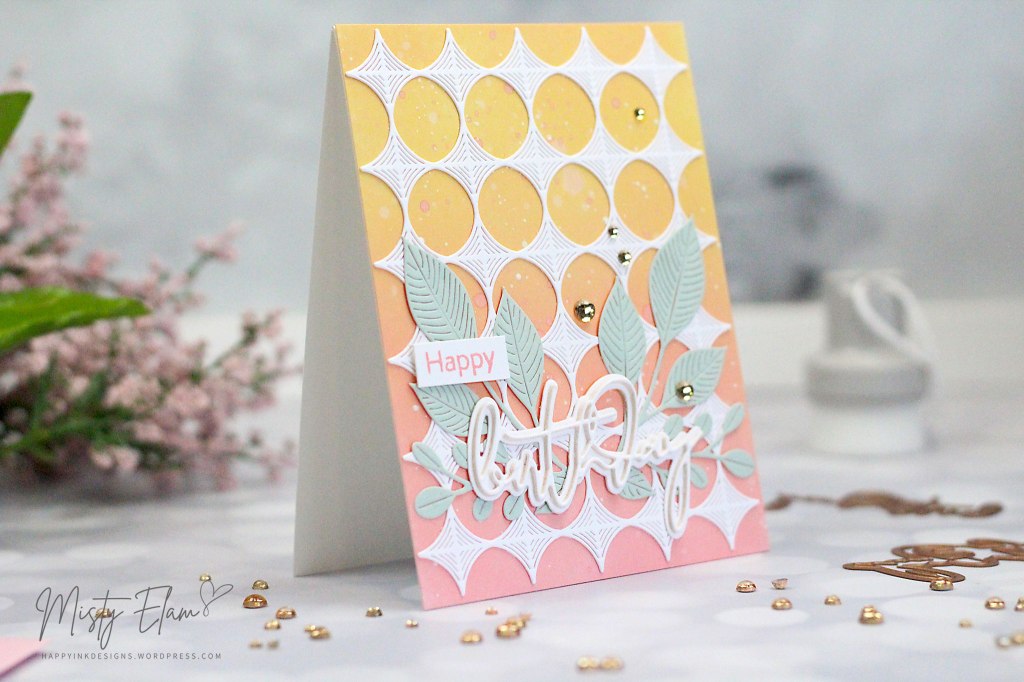
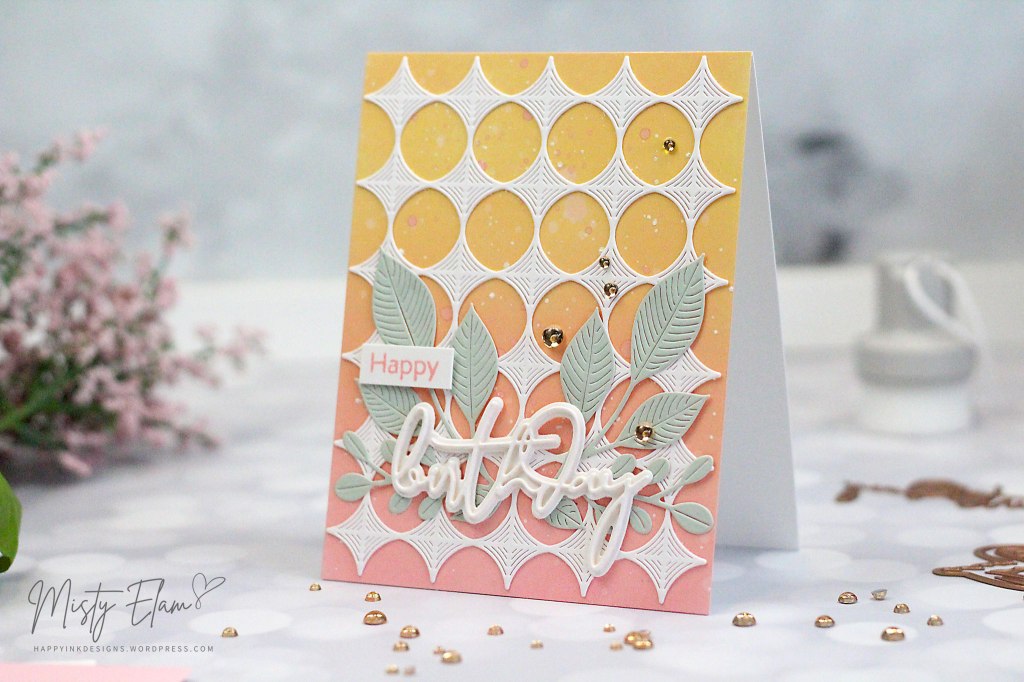
Once again, I made two cards for this challenge. I had to balance out the masculine with the feminine because not only was it my husband’s Birthday yesterday, but it was also my Mother-in-Laws. I love how these two balance each other out.

I started out with an A2 sized piece of black card stock. I prepped it with my anti static powder and heat embossed the Bubbles stamp set by Tim Holtz using clear embossing powder.

I set my background aside and started working on the center piece. Taking a piece of slate card stock, I stenciled this cool crossbones stencil by Tim Holtz with distress texture paste in black. Once that was dry, I die cut this kinda tombstone-y shape using a nested globe die.

I popped my centerpiece up with some craft foam and added a few screws hardware brads to the bottom.

For my sentiment, I used one of Yana’s layered script sentiments dies for the Birthday portion and the “wishes” was a stamp I had in my stash. I used Tim’s Idea-ology metallic kraft stock for the top layer of the “Birthday” and then I added 2 more layers using black card stock.
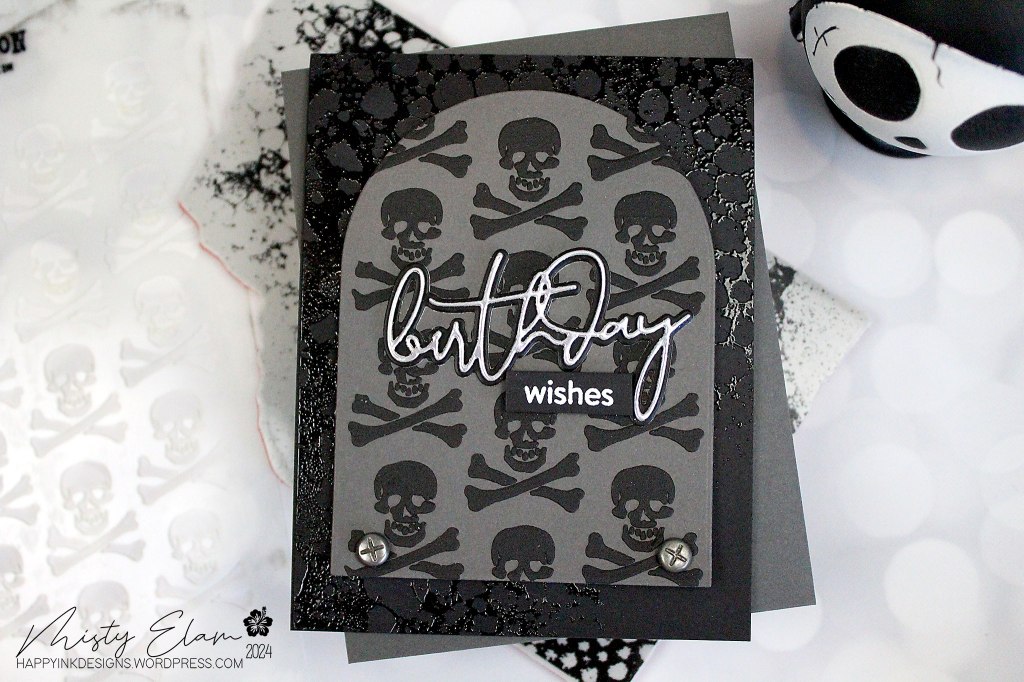
I heat embossed the “wishes” with white embossing powder and I popped it up with a black foam strip.
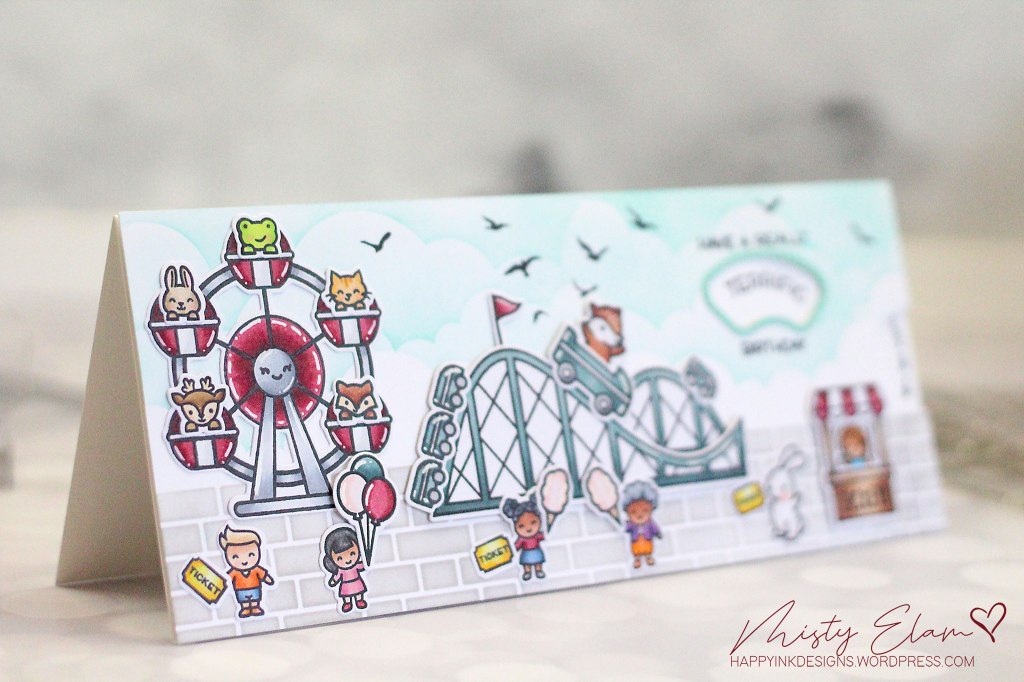
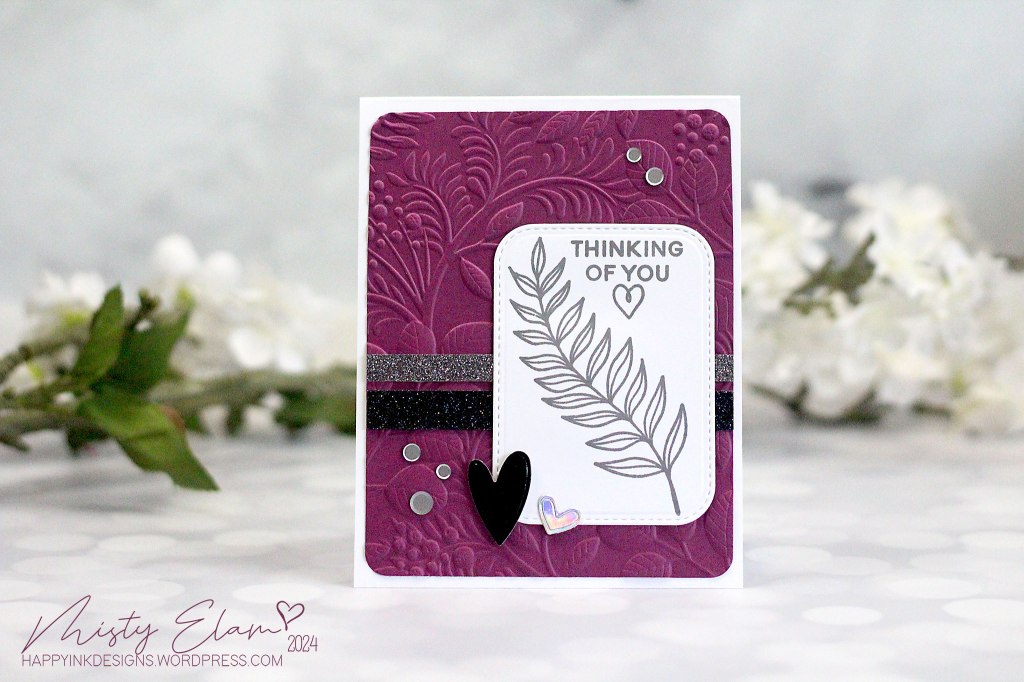
For this next card, I’m just going to add a few pictures. It’s pretty self explanatory but unfortunately I took a break to go to dinner for my hubby’s Birthday last night and then I felt like crud afterwards so I’ll be lucky to even get this post done at this point. Unfortunately, this is now my life. As soon as I eat anything by mouth, I feel awful until the food has passed through me. Most of the time I get sick which is why I’m on IV food for the rest of my life for the nutrition. Most of the food I eat by mouth just comes out the tube I have in my stomach but if it doesn’t come out fast enough, it makes me sick. But, at least I’m alive and I’m home, not stuck in a hospital so I’m not complaining. Hope you enjoy these cards I made this week!


So now it’s YOUR turn. Happy Crafting!!
Follow Simon Says Stamp on Instagram

Do you use Instagram ? If so please add #ssswchallenge to your challenge entry uploads so we can see them on there too.


You have until Wed 8am Ohio time. 1pm UK time, 2 pm CET to join in